Guide to Photographing Mushrooms for Identification
25 August, 2020Introduction
The blessing and curse of becoming known for your interest in a particular topic is the increasing number of questions you receive. As a keen mycophile, I am frequently sent photos of mushrooms and asked for assistance in identifying them. More often than not, I receive a single photo taken from directly above the mushroom, without any mention of contextual data such as where the photo was taken and during which season. This derth of data makes it very difficult to positively identify the mushroom to genus or species level. With that in mind, I thought it might be useful to write a short guide on photography for the purposes of mushroom identification.
When first beginning your journey into mushroom identification, it may be tempting to take a field guide with you to assist with identifications - I know this is how I started off. However, I've found that I prefer taking photos while in the field and doing the identification work and research at home. This allows me to focus on observation while in the field and avoid the frustration of paging through often-inadequate field guides. Find what works for you.
Capturing Morphological Traits
Mushrooms are often best identified by observing and listing their morphological traits. These may include the shape of the cap - both from above and in profile, the structure and colour of the hymenium, the colouration of the stem, the structure of the ring (if present) etc. Species within a genus often look identical at a glance and may require careful delineation based on a single characteristic. As such, it's very important to take clear photographs which collectively capture all of these characteristics (or the lack thereof). A minimum of three photos should do the trick:
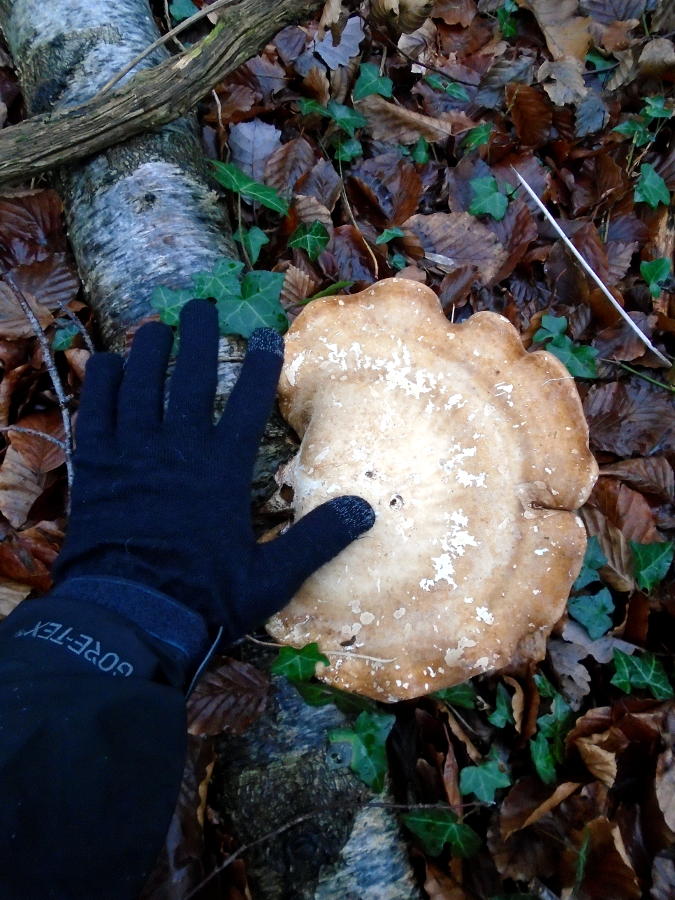
Top-view: captures the shape, colour and texture of the mushroom as seen from above.
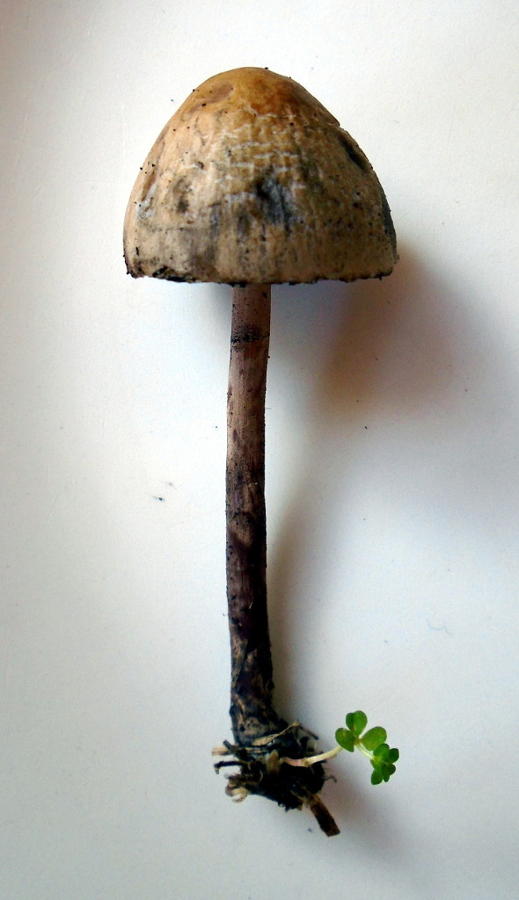
Side-view: captures the profile of the cap, the cap margin and the shape and colour of the stem (including patterns and any bruising which might be present).
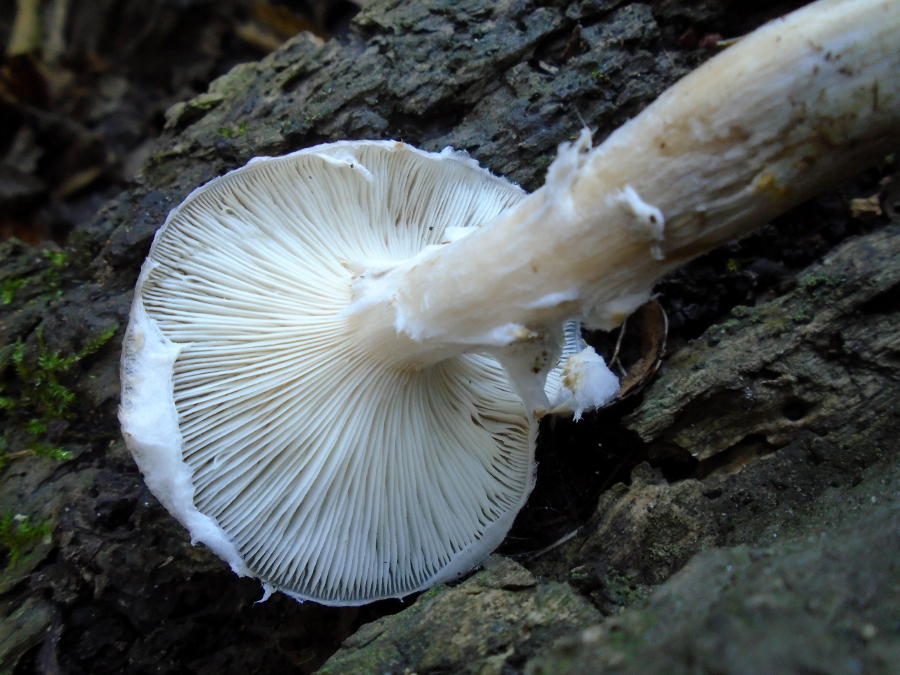
Bottom-view: captures the colour and structure of the hymenium (gills, pores or teeth), as well as the way in which the cap is attached to the stem (if present).
Your identification process will be further aided by taking the extra steps to capture two more photos:
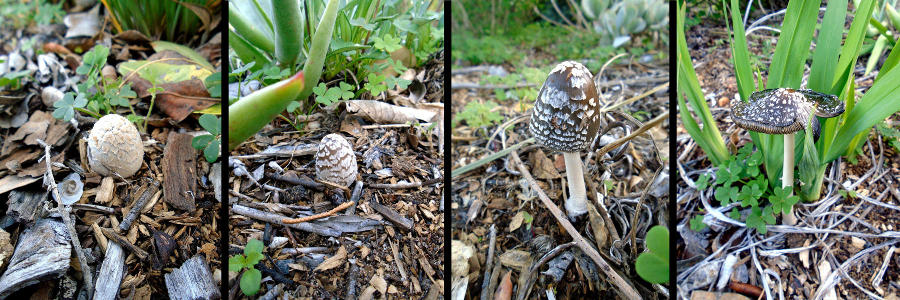
Developmental diversity: captures several examples of the mushroom at various phases of development, including a mature mushroom and primorida. Mushrooms can change colour and shape with age, and may lose key identification features - hence the utility of being able to identify using several phases of development.
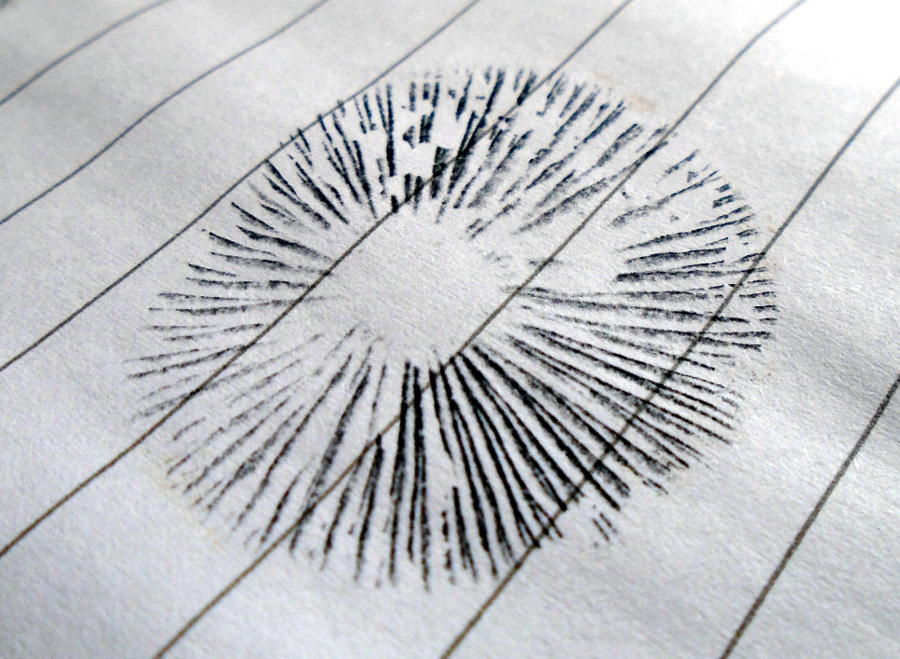
Spore-print: captures the colour of the spores (an important characteristic with which to narrow your search). You will probably have to take a mushroom cap home / back to your campsite to create the sporeprint (takes 12 - 24 hours).
Bear in mind that you don't need fancy equipment to photograph mushrooms for the purpose of identification. I've been using the same simple Sony digital point-and-shoot since 2011. Also, don't be afraid to get close-up to your subject (the mushroom). The details often prove to be very important!
Capturing Ecological Context
In addition to photos of the mushroom itself, it can be incredibly helpful to collect data concerning the context in which the mushroom is growing. The key considerations in this regard are the substrate and habitat: What is the mushroom growing on? Where is it growing? And what is growing or living around it? Having photos of these contextual factors can make a big difference when identifying a mushroom or genus or species-level. A minimum of two photos will suffice:
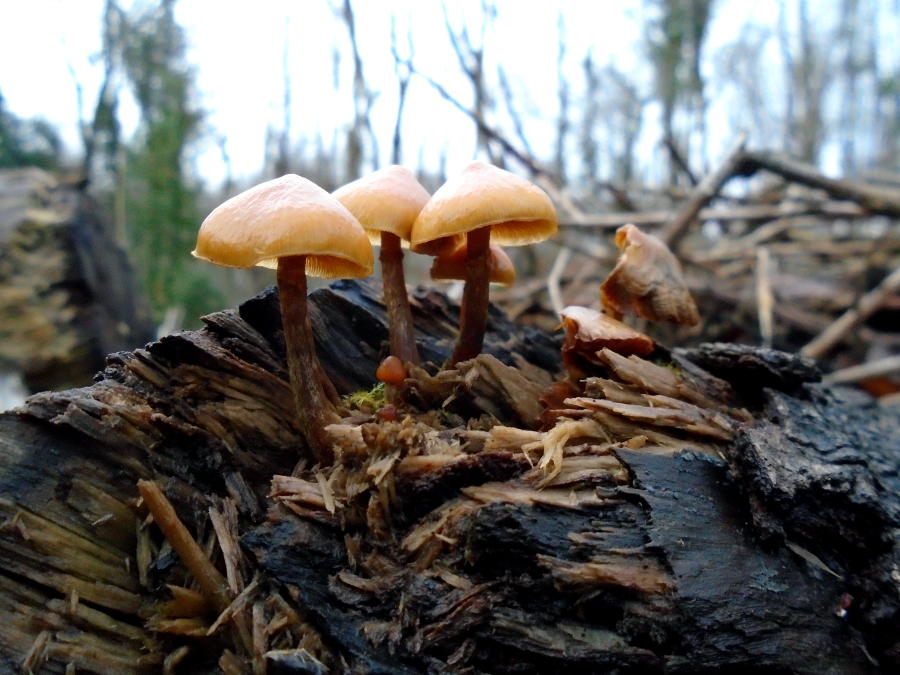
Substrate-attachment: captures the substrate on which the mushroom is growing. Try to observe beyond the obvious: if it's growing from the ground, is it growing on mulch, dung or from beneath the soil?
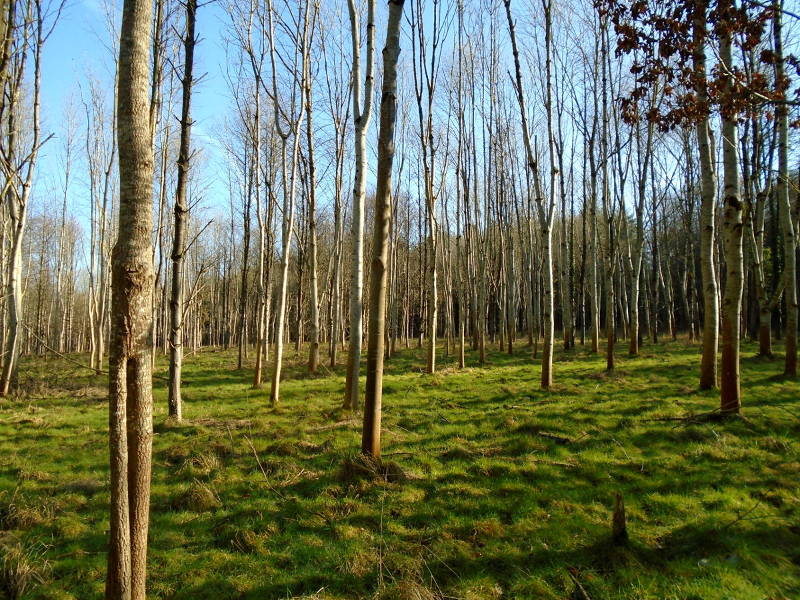
Habitat: captures the environmental conditions and some of the species which may be copresent with the mushroom.
Conclusion
There you have it, with 5 - 7 photos you can capture a great deal of data about a given species. Whether you're asking someone for help with identification or working through the process yourself, having these morphological and ecological data to draw on will enrich your learning experience and enhance your chances of making a successful identification. You may even notice things in the photos which you missed while in the field, for example, a beetle crawling amongst the gills (what ecological relationship might it have with the fungus?). I hope you've found this guide helpful and that it facilitates many fun identification forays in your near-future!